Why a quick setup check matters
A strong conversation is hard to recreate. That is why voice recording begins before anyone delivers the first line: with a short check of the microphone, the room, and the place where the file will be saved. The check does not need to be elaborate. Its purpose is to catch problems that are easy to fix now and frustrating to discover after a long session.
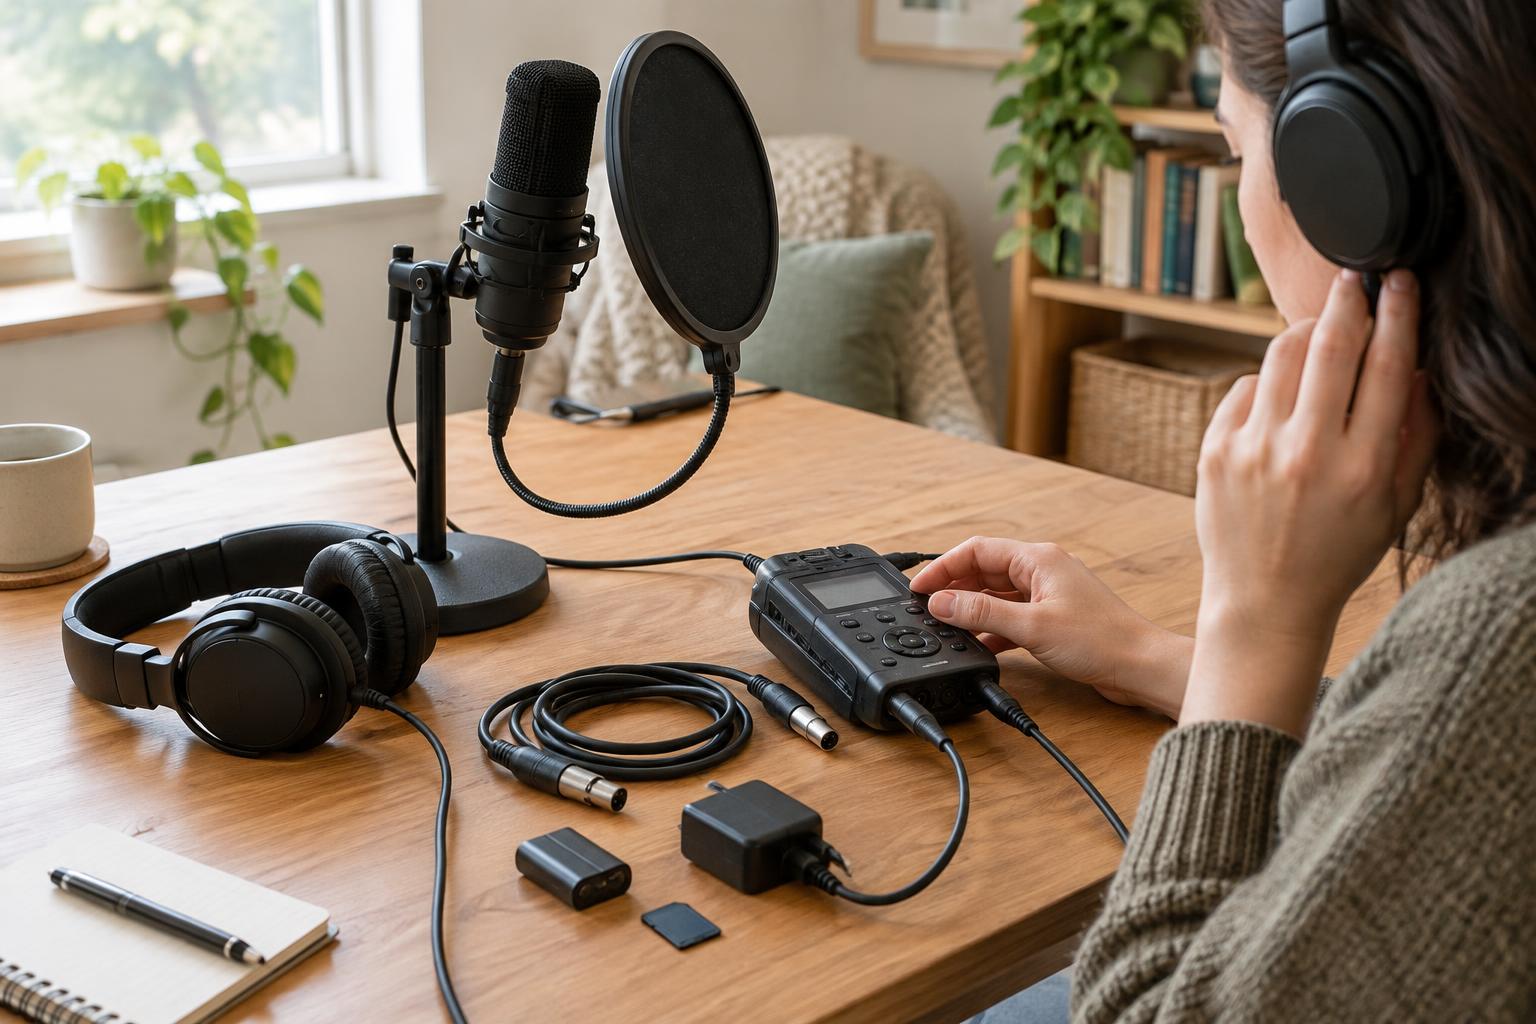
Record a brief sample in the actual position and voice you plan to use. If you are interviewing someone, ask them to speak at their normal volume, then have both of you try a louder sentence. Listen to the sample through headphones rather than relying only on a moving level meter. You are checking not just whether sound exists, but whether the words are clear, the volume is usable, and the background is acceptable.
Mistake one: recording without testing levels
An untested input can be too quiet, too loud, or set to the wrong microphone. If the level is too high, loud words may distort; turning the file down later will not restore the damaged sound. If it is very low, raising the volume in editing can make room noise more noticeable. Aim for speech that registers clearly while leaving space for laughs, emphasis, and unexpected changes in volume.
Speak into the microphone at the distance you will use during the session, and watch the meter as you test. Then play the test back. Confirm that the recording uses the intended microphone rather than a laptop’s built-in mic or another connected device. If several people will speak, check each voice separately. Once recording begins, avoid adjusting the input level simply to make one quiet phrase look bigger on the meter; a change midway can make the session harder to edit consistently.
Mistake two: overlooking noise that blends into the room
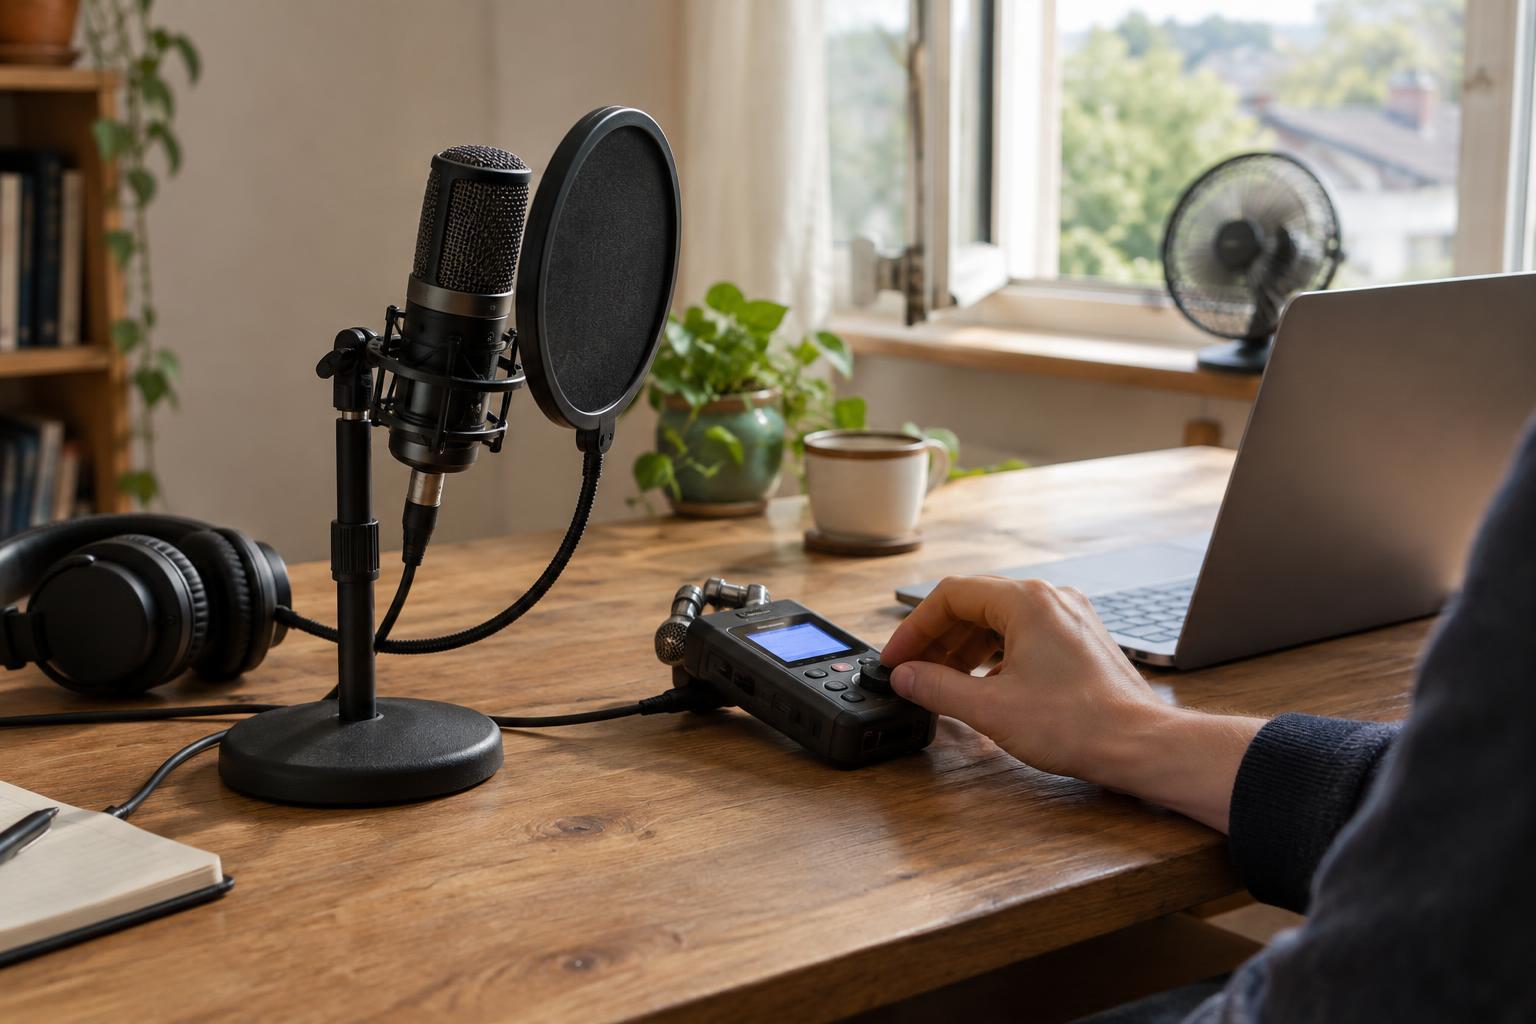
A fan, computer, street sound, or buzzing light can fade from your attention while you are talking. A microphone may still capture it clearly. Before recording, pause and listen to the room without speaking. Switch off avoidable noise sources, close a window if it helps, and keep the microphone away from equipment that hums. Record a few seconds of silence in your test so you can hear what the room contributes on playback.
Not every problem comes from the room itself. A hand brushing the desk, a cable touching the microphone, or a speaker turning away can change the sound abruptly. Place the microphone securely, leave a little space between it and the speaker’s mouth, and use headphones to monitor during the session when practical. If a noise interrupts an answer, pause and repeat the sentence. Marking that moment with a spoken note can make it easier to find during editing.
Mistake three: assuming the file is safely recording
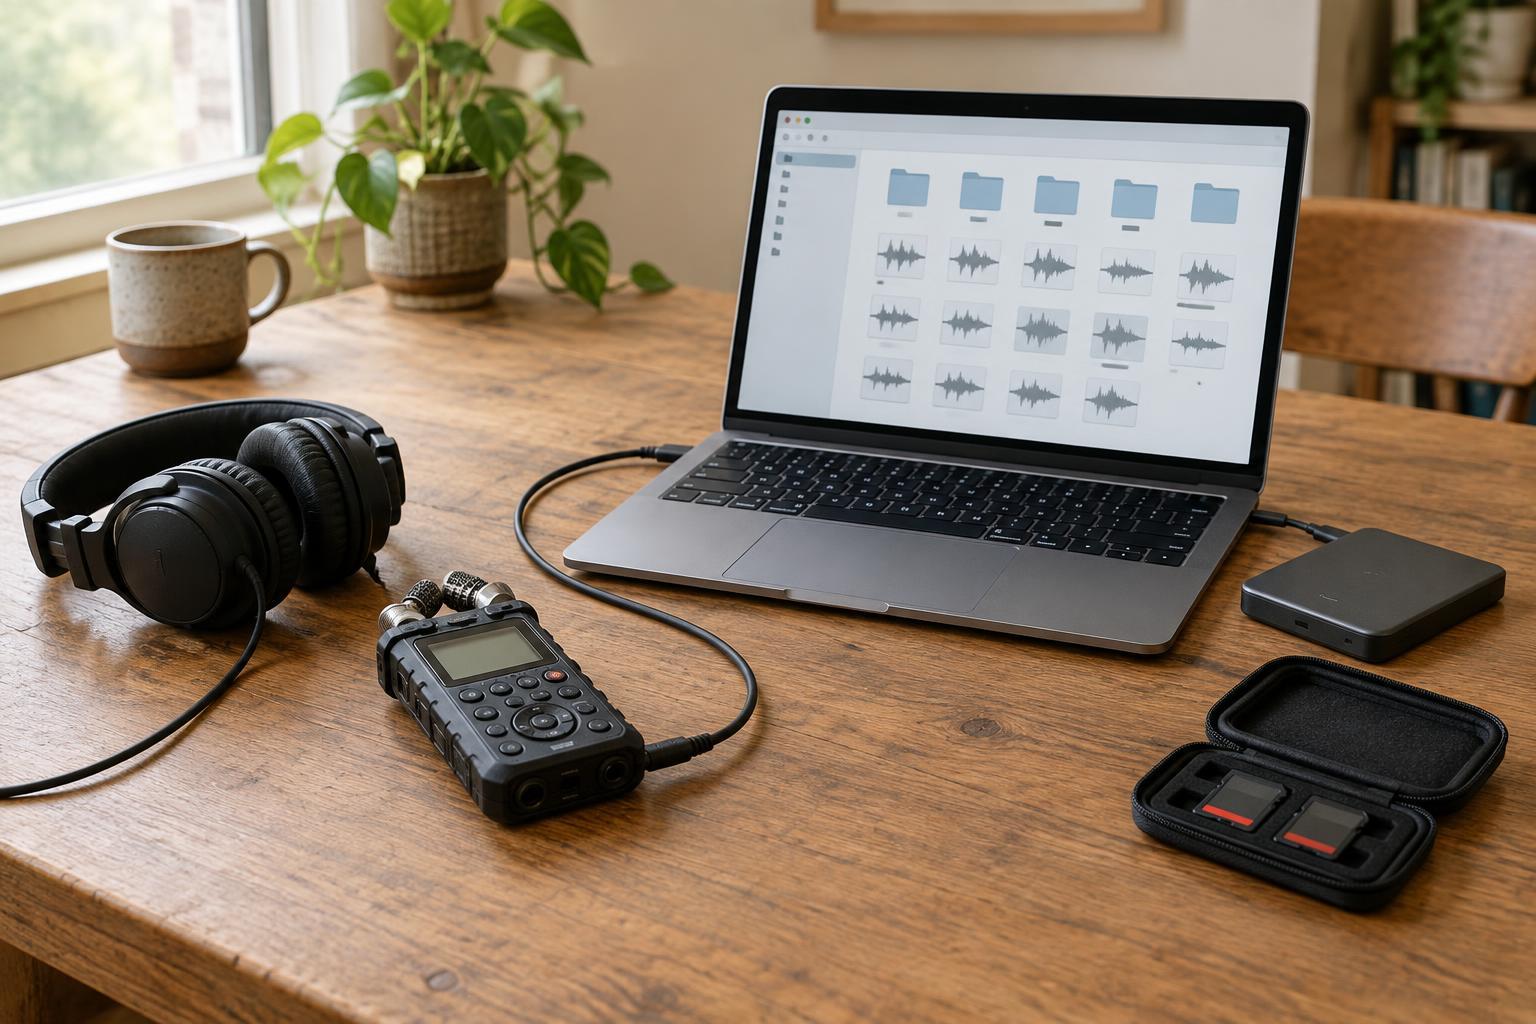
A visible microphone or open recording app does not guarantee that a usable file is being made. Before the session, check that recording has actually started, the timer is advancing, and the chosen storage location has enough space. For an important conversation, stop after your short test and find the saved file. Open it and confirm that it contains the audio you just heard, not an earlier take or an empty track.
Give files clear names that distinguish the speaker, session, or take, and decide where the finished recording will live before you begin. After the session, stop the recorder properly and allow it to finish saving before closing the app or disconnecting a device. Locate the file, play a little from the beginning and end, and make a separate copy when you can. A backup is most useful when it is stored somewhere other than the device holding the original.
Build a repeatable start-and-finish routine
A simple routine reduces the number of decisions you have to make while hosting or speaking. At the start, confirm the microphone and save location, record a sample, test a normal and louder voice, and listen for noise. Keep notes on recurring issues in your space, such as a chair that creaks or a device that activates unexpectedly. Small adjustments made before recording often save more effort than trying to repair the sound afterward.
At the end, verify that the file exists and plays before packing up. If something has gone wrong, knowing immediately may let you rerecord an introduction or ask a guest to repeat a short answer. The goal is not a flawless room or an elaborate equipment list. It is a dependable habit: hear what you are capturing, leave room for the unexpected, and make sure the recording you worked to create is still there when you need it.