Start with the noise you cannot easily remove
The best room for a voice recording is not necessarily the largest or most comfortable. Start by looking for a space where you can control interruptions and background sound. Listen for traffic, ventilation, humming appliances, neighboring conversations, and footsteps overhead. A room that sounds quiet for a few seconds may reveal a recurring noise once you sit still and pay attention.
Compare two or three possible spaces at the time you expect to record. Close the door, stand where the microphone would go, and listen for a full minute. Then make a short test recording and play it back through headphones. Microphones can pick up details you overlook while speaking. If a sound comes and goes, such as a refrigerator cycling on, wait long enough during the test to hear whether it returns. Choose the room with the most manageable noise, rather than assuming you can fix everything during editing.
Listen for reflections, not just silence
A quiet room can still make speech sound distant or hollow. Hard walls, bare floors, windows, and an empty tabletop reflect sound back toward the microphone. Those reflections arrive just after your voice and can blur words. Clap once or speak a few sentences while moving around the room. A sharp, ringing tail or a boxy quality suggests that the space needs softening.
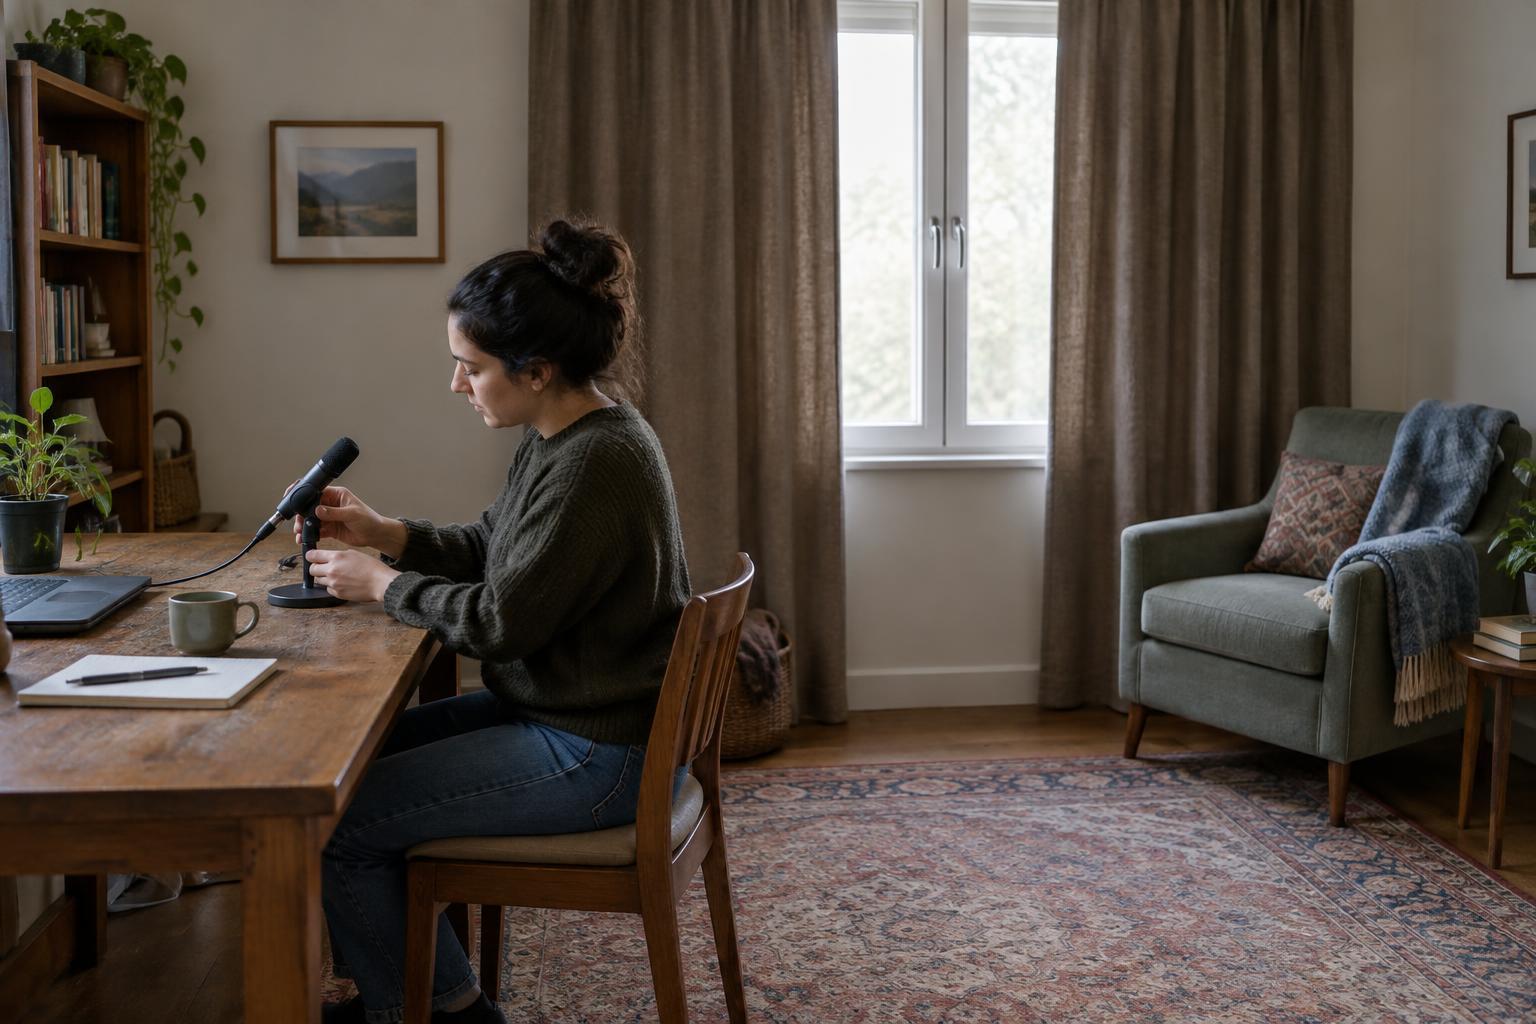
Rooms with rugs, curtains, upholstered furniture, books, or hanging clothes often provide a better starting point than empty rooms with lots of hard surfaces. A small closet full of clothes may work for a brief voiceover, though it can feel cramped or sound overly muffled. Test the result instead of relying on how a room looks. The goal is a natural, intelligible voice, not the complete absence of room sound.
Soften the space with what you already have
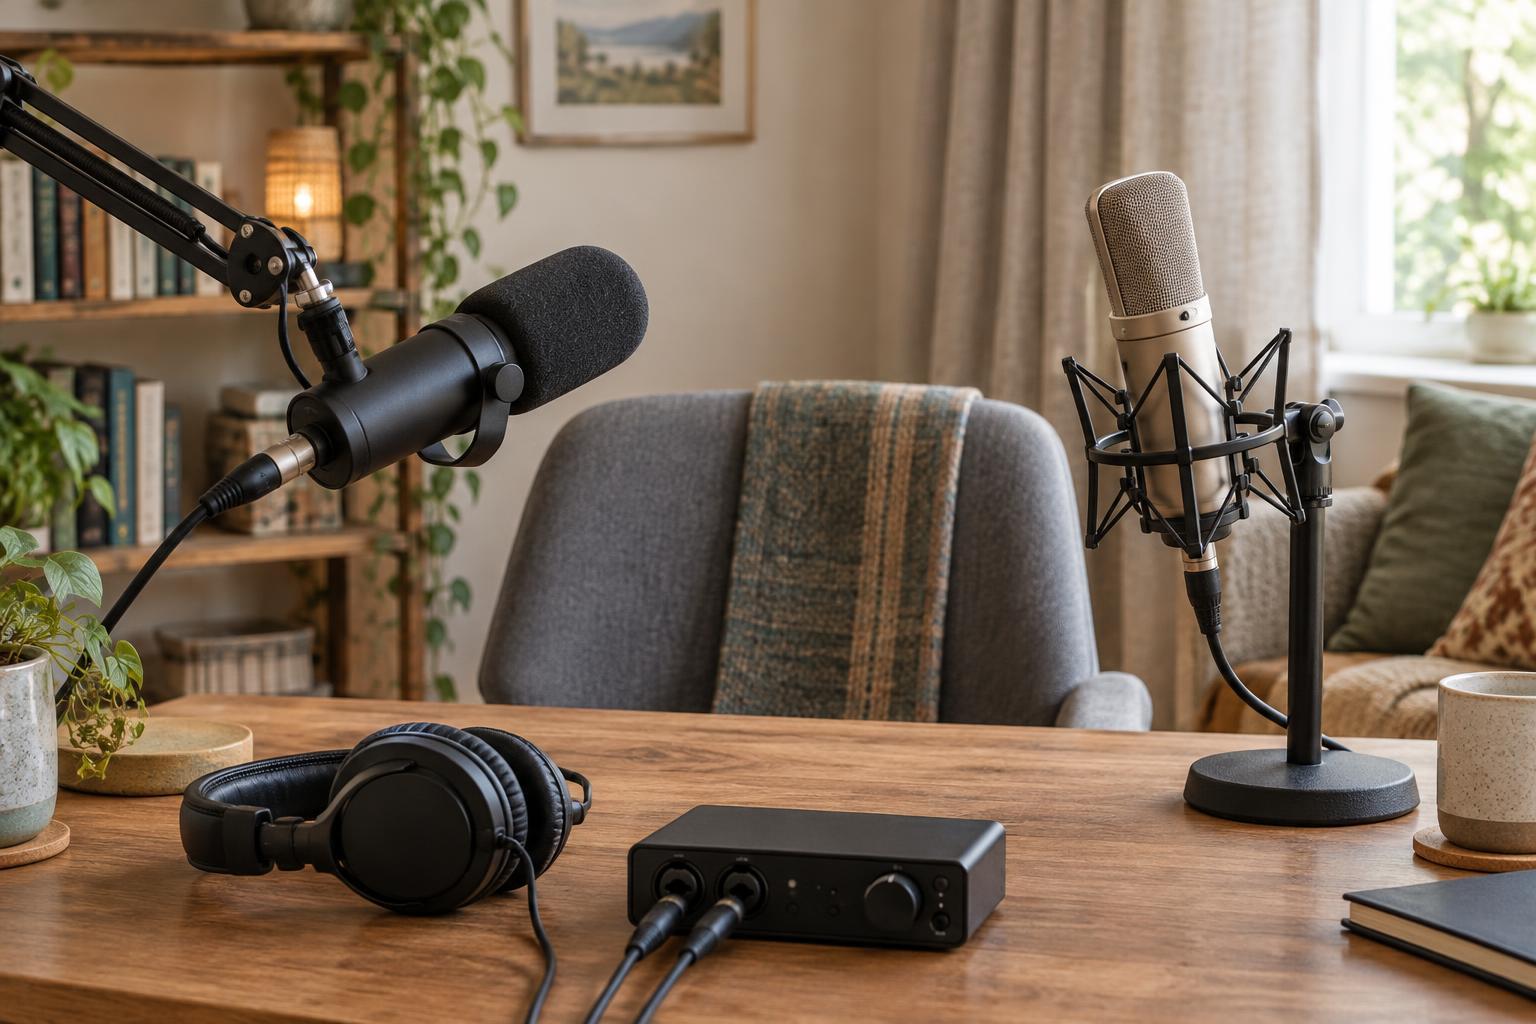
You do not need to cover every wall. Begin with the hard surfaces close to the speaker and microphone. Put a rug on a bare floor, draw thick curtains if the room has them, or move away from a large uncovered window. A blanket draped securely over a nearby stand can help reduce reflections, provided it does not block airflow, touch hot equipment, or risk falling onto your setup. Cushions and upholstered furniture can also help.
Pay particular attention to the area behind and beside the speaker, as well as a bare wall directly in front of them. Try one change at a time and record the same sentence after each adjustment. Comparing those clips will tell you more than buying materials on appearance alone. Thin decorative foam may change some higher-frequency reflections but is unlikely to solve low rumble, outside noise, or every echo problem.
Place the microphone to favor the voice
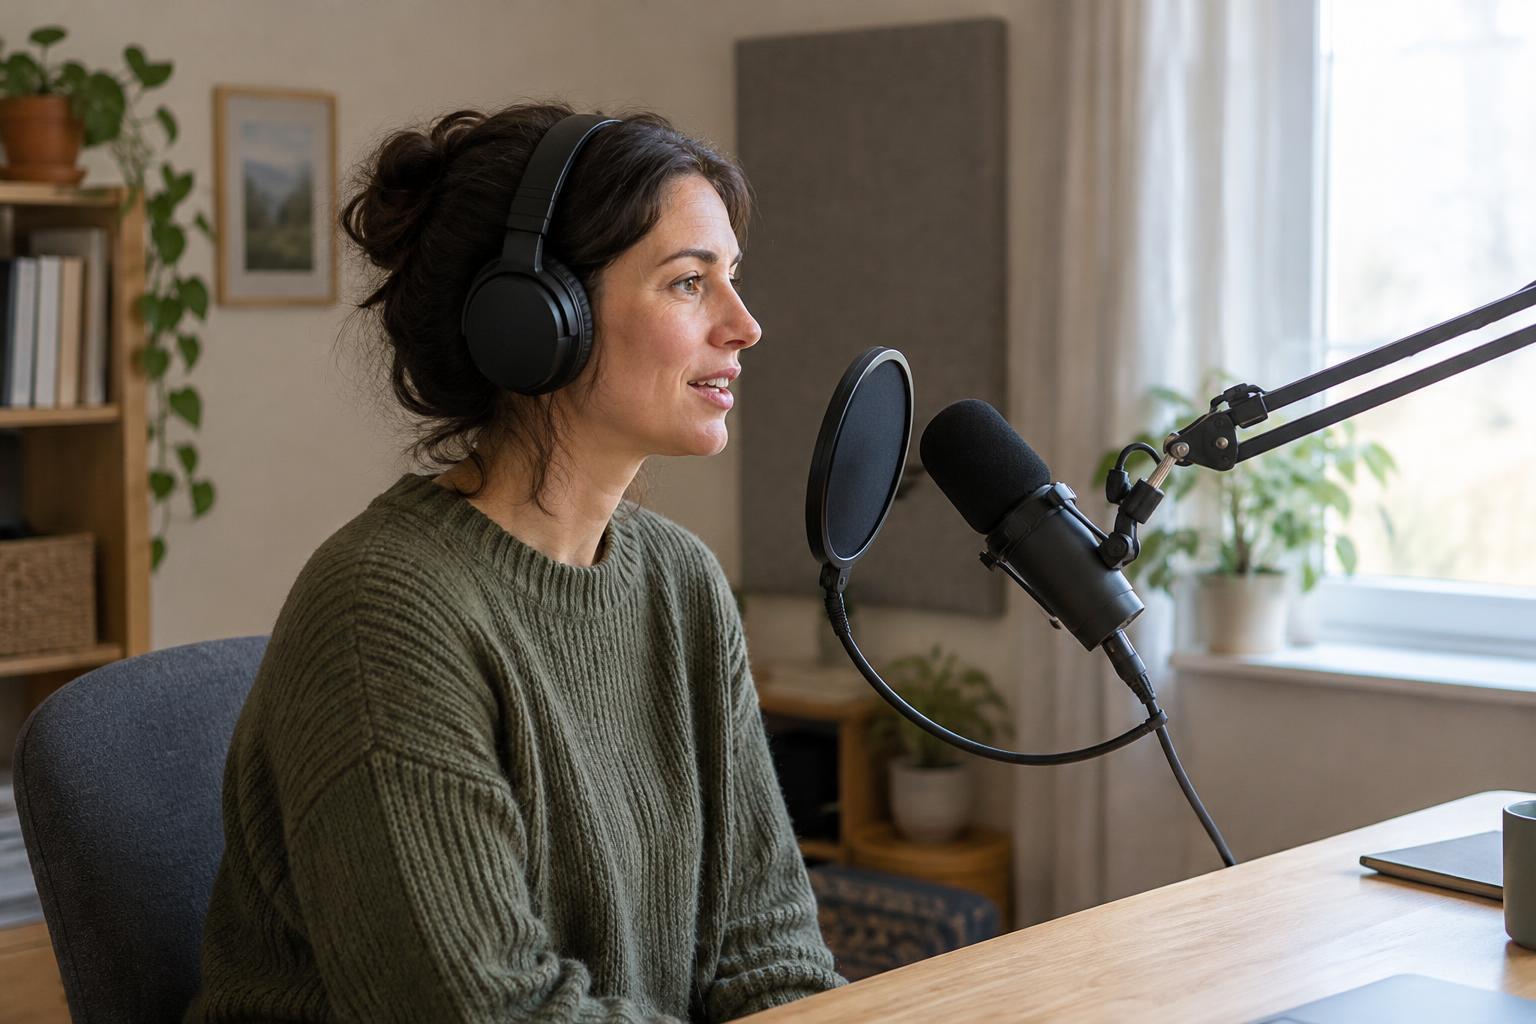
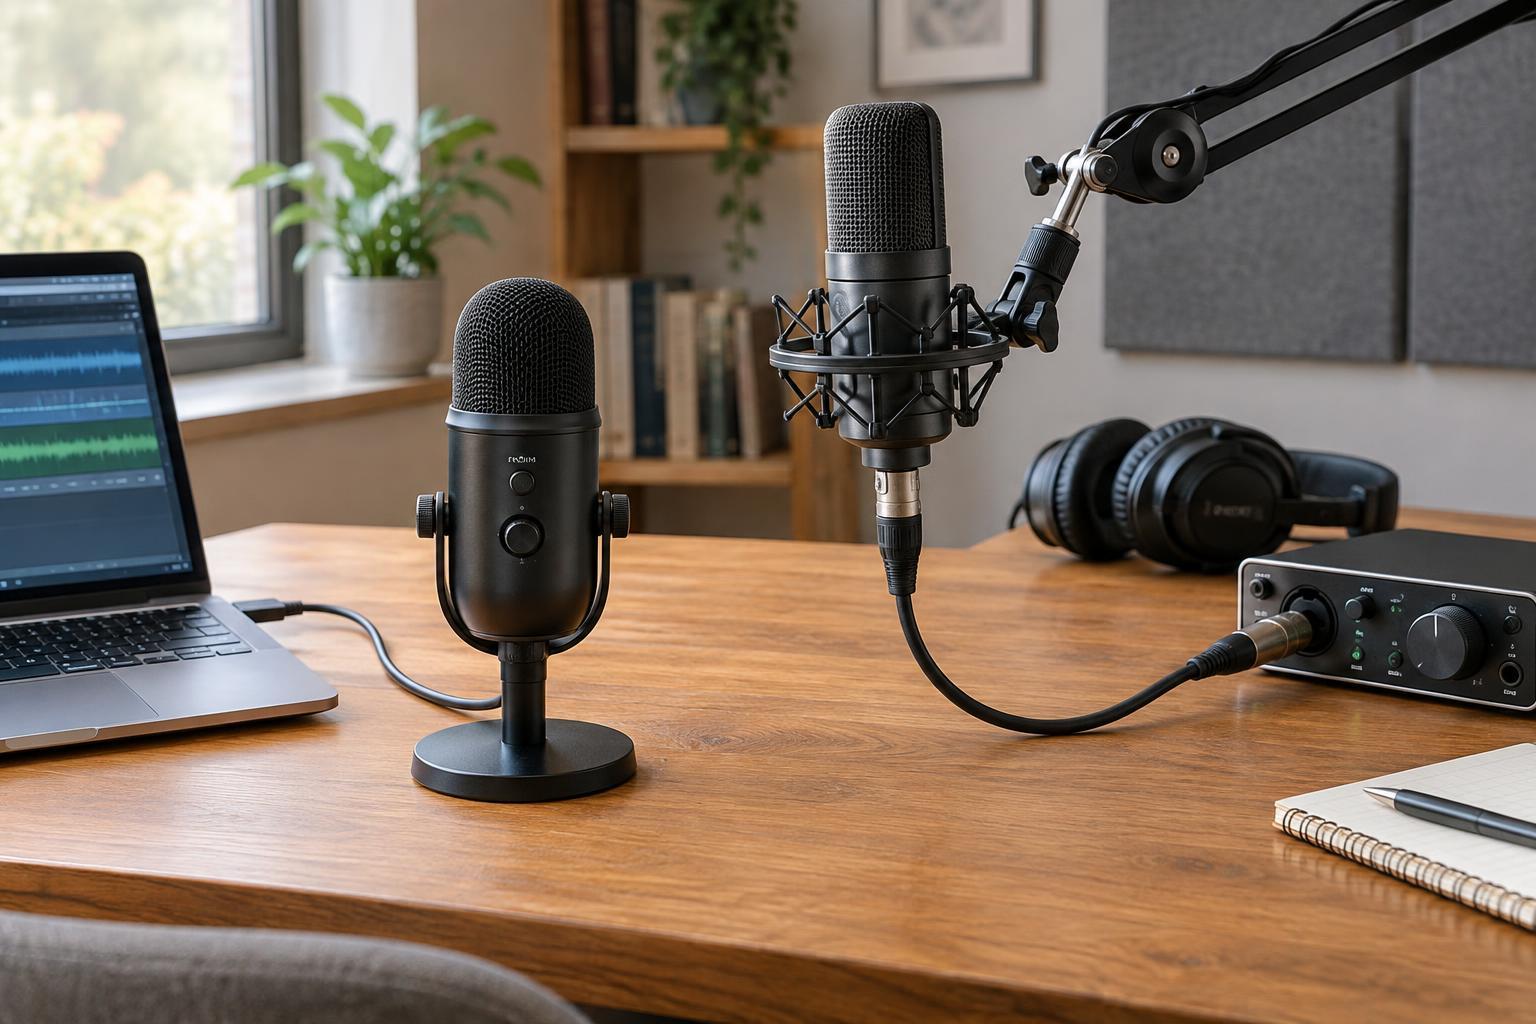
Room choice and microphone position work together. For many spoken-word setups, moving the microphone closer to the speaker makes the direct voice more prominent relative to the room. Keep a comfortable, consistent distance and use a pop filter if bursts of air on words beginning with “p” or “b” are a problem. Speaking slightly past the microphone rather than straight into it may also help with plosives.
Avoid setting the microphone in the middle of a bare room or directly against a reflective wall without testing the sound. A desk can reflect your voice upward, so a soft desk covering or a different mic position may be worth trying. Once you find a position that sounds good, mark where the chair and stand belong. Consistency makes it easier to record a pickup line later without an obvious change in sound.
Make a repeatable pre-recording check
Before a full take, turn off avoidable noise sources where practical, silence notifications, and ask others nearby for a recording window. Check that the room remains comfortable enough to speak naturally; a setup that forces you to whisper or sit awkwardly is not a useful solution. Record several seconds of silence followed by a short sample at your normal speaking level. Listen for hum, rustling, mouth noise, echo, and distortion.
If the test sounds wrong, change the simplest thing first: close a door, move the microphone, add a soft surface, or choose a quieter time. Keep a brief note of what worked, including room, microphone position, and any temporary furnishings. A reliable routine will usually do more for clear spoken-word audio than trying to repair a noisy, echoing recording afterward.